
As a recreational player, hit a controlled overhead when you can get behind the lob and meet the ball high and slightly in front, balanced. If you can't reach that contact before the bounce, try a bounce overhead or another recovery shot. Practice the sideways setup and one repeatable target before you add pace.
Should You Smash the Lob or Let It Bounce?
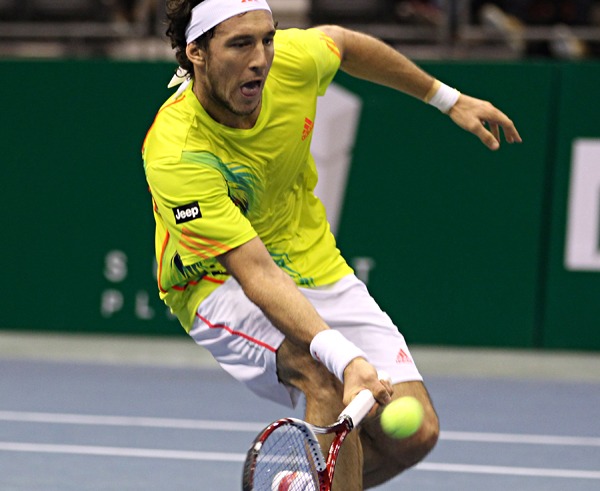
A high lob looks like an invitation to attack, but its depth decides whether you get behind it in time. What matters is whether you can reach a stable hitting position before the ball drops.
A short lob gives you room to prepare and hit toward an open part of the court. A deeper lob can carry past that comfortable position while you're still retreating.
| What you see | Can you reach it? | Shot to consider | The test |
|---|---|---|---|
| Short lob with time to prepare | Yes, balanced and high | Overhead before the bounce | You can get behind the ball and pick a big target. |
| Deep lob with time to turn | If you get there in time | Conservative overhead or a bounce-first reply | Keep the overhead only if contact is clean. |
| Lob going past your reach | Not before the bounce | Let it bounce, then hit a bounce overhead or another recovery shot | The bounced ball must still be reachable and playable. |
When a tough lob lands and rises to a height you can handle, hit the overhead after the bounce. That's a bounce overhead. Keep the racket prepared, track the ball through the bounce, and adjust your feet to meet it at a comfortable point as it rises. If the rising ball still leaves you stretched or badly placed, pick a different recovery shot while the point is still alive. The USTA Foundation's Warrior Tennis Curriculum includes the bounce-first overhead as a practice option.

Wind, glare and odd flight make a lob harder to judge, so leave yourself more margin. A fast ball near head height calls for a high volley or swinging volley, which needs different preparation.
Set Up the Overhead: Grip, Turn, Track, and Move
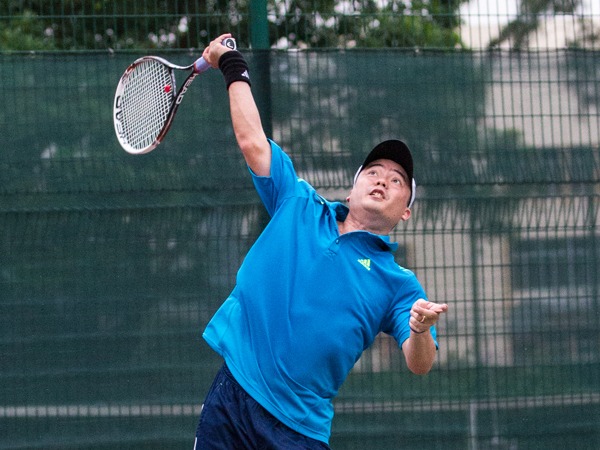
Turn sideways as soon as you spot the lob. Prepare the racket while you move to where the ball will come down. Arriving early enough to adjust your feet is what makes an overhead controlled.
- Grip: The Continental grip is the usual overhead starting point. A coach can adapt it to you, but don't switch grips by accident while you retreat.
- Body turn: Rotate your shoulders sideways and keep the court in view. If you're right-handed, your left arm guides the ball; left-handers reverse it.
- Racket preparation: Bring the racket up early, near your hitting-side ear. A lob gives you less time than a serve, so the preparation is shorter than a full service windup.
- Tracking and feet: Raise your non-racket arm toward the flight of the ball. Retreat sideways or with a crossover step, then take short adjustment steps to find your hitting position.
On a serve, you control the toss. On an overhead, your opponent supplies the lob, so the racket has to be ready while you're still judging its flight. Coaches Frank Giampaolo and Jon Levey describe this shortened sequence in their Human Kinetics overhead lesson.
Get behind the intended contact point
Move to where you can extend to the ball without reaching backward. Use a turn, a crossover and a few small steps, as many as the distance needs. A basic overhead doesn't require a jump.
Don't sprint backward blindly while staring up. Watch the court boundary and other players, especially on a deep lob or when your partner is close.
Check your setup before practicing harder feeds
Pause a practice recording or rehearse the movement without a ball. Look for a sideways shoulder turn, an early racket, your free arm tracking the ball and steady foot adjustments. If your hand would reach behind your head, fix your positioning before you swing faster.
Contact and Finish: Hit a Controlled Tennis Overhead
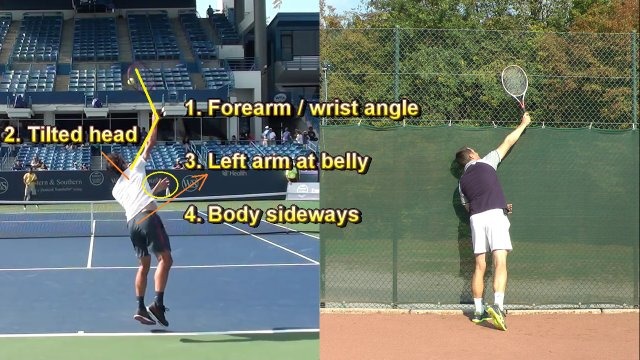
Meet the ball at a comfortable high extension, slightly in front of your body. From there you can direct the shot without twisting backward or chasing a ball that has passed your hitting shoulder.
With the racket up near your hitting-side ear, extend toward contact and let your forearm rotate through the hit. Finish relaxed and balanced for the next ball. The motion is abbreviated, so don't force a wrist snap.
Aim for a big area of the opposite court. Close to the net, an open angle is a good target. From farther back, a straighter, deeper shot is the safer way into the court. Tennis.com's Smash Hits instruction teaches this distinction, and your balance and the incoming ball decide which target you use.
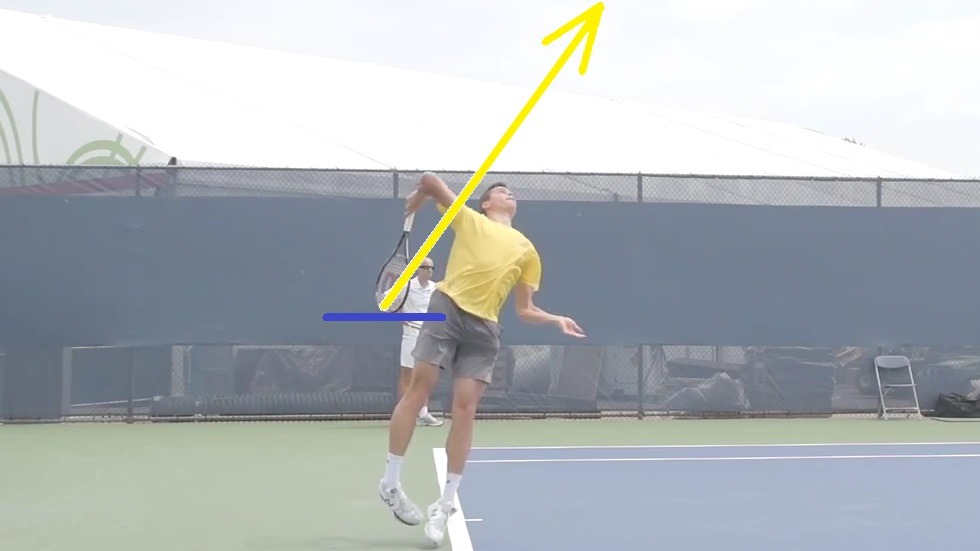
Check contact and direction
On a manageable feed, pick one large in-bounds target and hit a controlled overhead. Note where you met the ball and whether it went where you aimed. If it drifts behind your shoulder, adjust your positioning on the next similar feed.
Why Your Overhead Goes Into the Net, Long, or Off the Frame

The same miss can come from different faults. Check how you arrived, where you met the ball and what the racket did before you change anything.
| What happens | Check | Likely cause | Try this |
|---|---|---|---|
| Ball goes into the net | Was contact low? Was the racket ready early? | The ball dropped before a rushed swing. | Prepare sooner and take the ball high. |
| Ball travels long | Was the ball behind your hitting shoulder? | You leaned back at contact. | Get behind a similar feed so you meet the ball ahead of you. |
| Frame hit or mishit | Did you lose the ball or stop adjusting your feet? | Misjudged flight or unfinished last steps. | Keep tracking and finish the foot adjustment. |
| Balance breaks down | Were you still retreating during the swing? | The lob forced an unstable reach. | Use the first table to choose the shot before your next overhead. |
Change one variable at a time. If several shots go long while you lean back, move farther behind a similar feed and compare contact position and result. Changing grip, swing pace and target together makes that comparison much less useful.
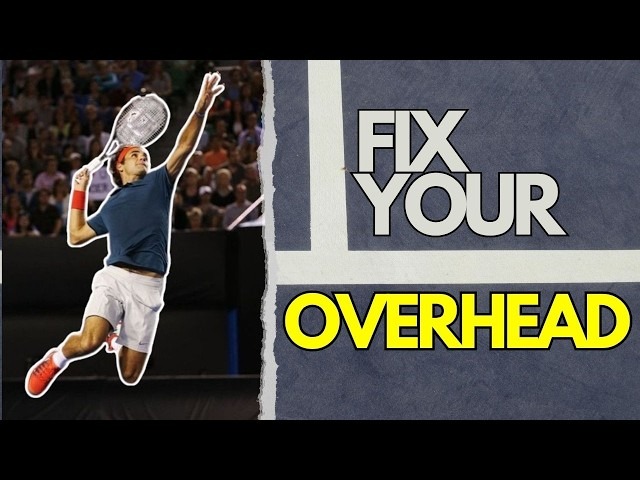
If shoulder or arm pain limits the stroke, stop and have a professional assess it. Don't force an overhead through pain.
Practice Overhead Smashes Until You Can Use Them in a Match
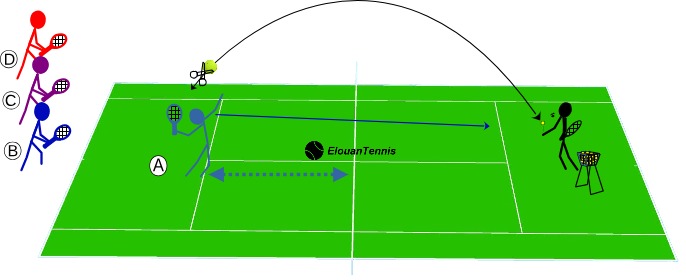
Start with a lob you can locate calmly, then add the strike, the movement and point-play decisions. A coach or partner can feed the ball, and you don't need a ball machine.
| Stage | Drill | Focus | You're ready when |
|---|---|---|---|
| 1. Locate the ball | Easy lob, no racket strike | Sideways position and non-racket-hand tracking | You reach the ball ahead of your body, balanced. |
| 2. Controlled strike | Predictable lob and large target | High contact and placement | Repeated feeds land in the court. |
| 3. Moving overhead | Vary lob depth | Foot adjustment and shot selection | You pick a manageable reply without losing balance. |
| 4. Point-play lob | Lobs during rallies or doubles points | Timing, execution and recovery | You make the shot choice and stay ready for the return. |
Practice arriving in the right place
The USTA overhead positioning lesson starts with a non-racket-hand check. Move behind an easy feed and block the ball with your palm, slightly ahead of your body. Once that position feels familiar, catch the ball with your fingers pointing upward.
In Practice Session 5 of the USTA Foundation's Warrior Tennis Curriculum, tossers across the net send gentle, high underhand feeds with red balls to players near the net, who return soft overheads.
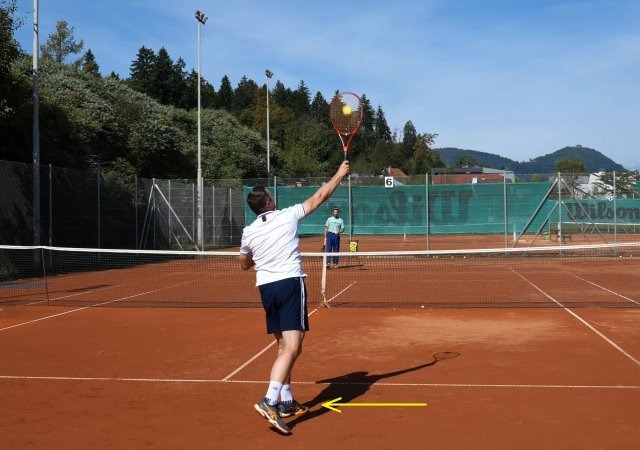
Take the stroke into a point
The progression pays off when lobs stop arriving on command. One recreational player described preparing with a coach for a first doubles league match after years without overhead practice:
Recently joined a doubles league so I understand my lack of overheads practice will put me at a major disadvantage when I get lobbed. So one of the things I wanted to practice today with my coach before my first match tomorrow is getting comfortable with overheads again. At least so I built up my confidence and it won’t be a glaring weakness tomorrow.
Measure what improves
Record the feed's approximate depth, your starting position, the shot you chose, whether it landed in bounds and whether it reached your target. Two simple measures:
- In-bounds rate: In-bounds overheads divided by overheads attempted.
- Target rate: Overheads reaching the chosen target area divided by attempts made under comparable feeds.
Compare the rates across sessions with similar feeds and starting positions to see how your practice changes.
Overheads in Doubles: Placement, Partners, and Court Awareness
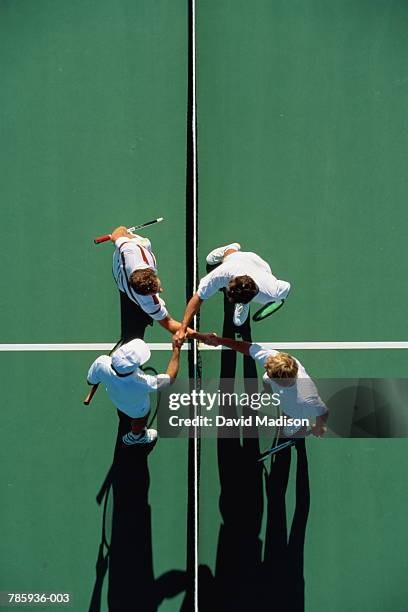
Agree with your partner who takes the lob, who covers the space it opens and who stays ready if the ball comes back. Keep your target and the nearby opponents in view throughout the shot.