
Beginners should start with a continental grip, the racket ready in front of you, and a compact contact before the ball bounces. A high ball gives you room to attack. If the ball arrives low, fast or out of easy reach, just get it back in play. Build the stroke with predictable forehand and backhand feeds, then compare what lands in court.
What Is a Tennis Volley, and When Do You Use One?
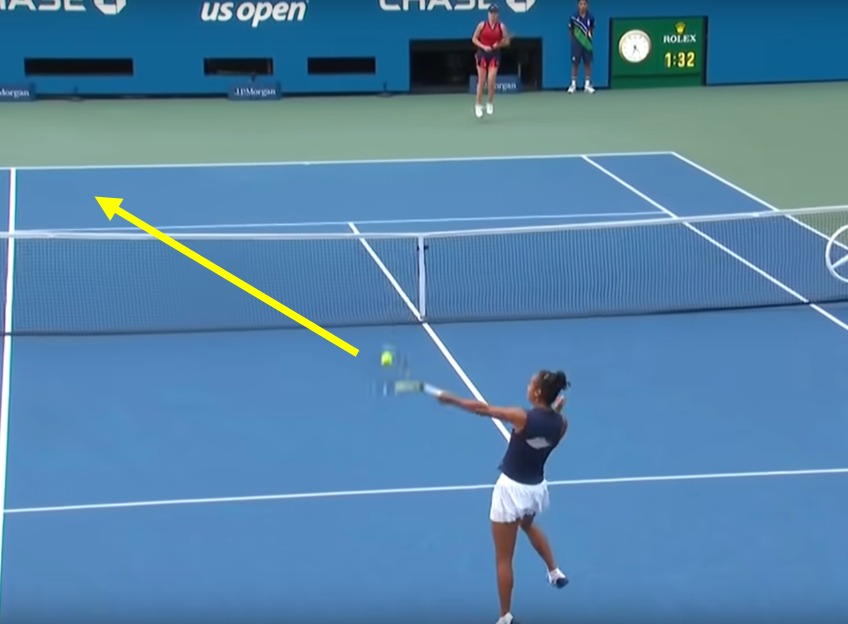
A volley is a shot you hit before the ball bounces, usually near the net. A ball that has just bounced at your feet calls for a half-volley. A lob that sails beyond your reach means retreating for a defensive shot, or an overhead if you can get to it. A soft ball you can meet in the air beside your body is a straightforward volley. Work out which of the three you're facing before you pick the stroke.
Continental Grip and a Ready Racket
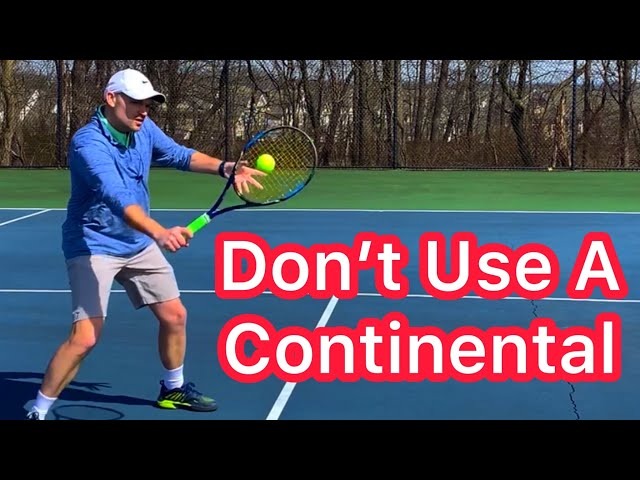
A dependable volley begins before the ball reaches you. Hold the racket with a continental grip, keep the head ready in front of your upper body, and leave enough room to turn toward either side without dragging the racket behind you.
The continental grip is often called the chopper grip. Hold the handle the way you would hold a small hammer. From that position you can set up for a forehand or a backhand volley.
At the net you get almost no time to prepare. Read the ball's direction, turn your shoulders just enough to set the racket, and keep the movement short. A full groundstroke backswing takes time you won't have.
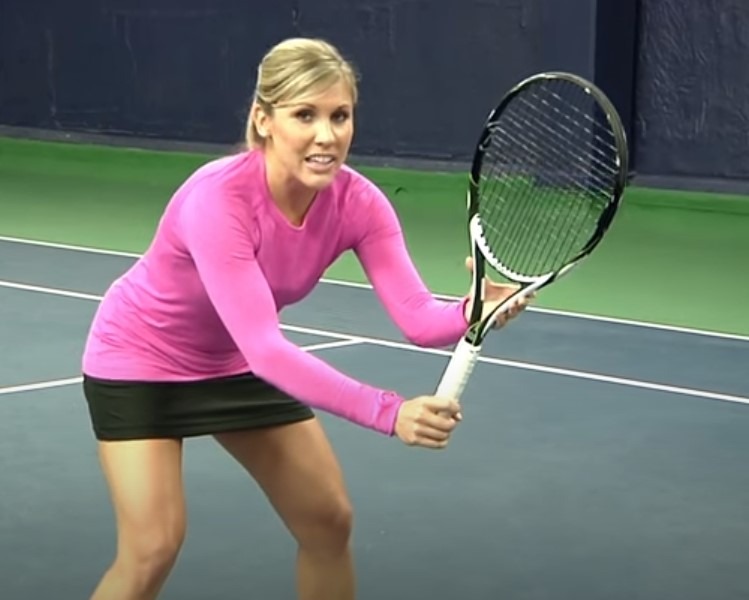
In a beginner lesson published January 1, 2017, USTA uses the phrase “squeeze and freeze” for a stable volley contact. It is a coaching cue for control. Your hand and arm don't stay rigid through the whole exchange.
Some experienced players make small grip changes between sides, but each adjustment eats reaction time when the next ball comes quickly. While you're still learning consistent contact, stick with one continental grip.
Try five gentle alternating forehand and backhand feeds with that grip. Check whether your hands adjust the handle before each ball or whether the racket is already set as you turn.
Forehand vs. Backhand Volley: Contact, Racket Face, and Swing Path
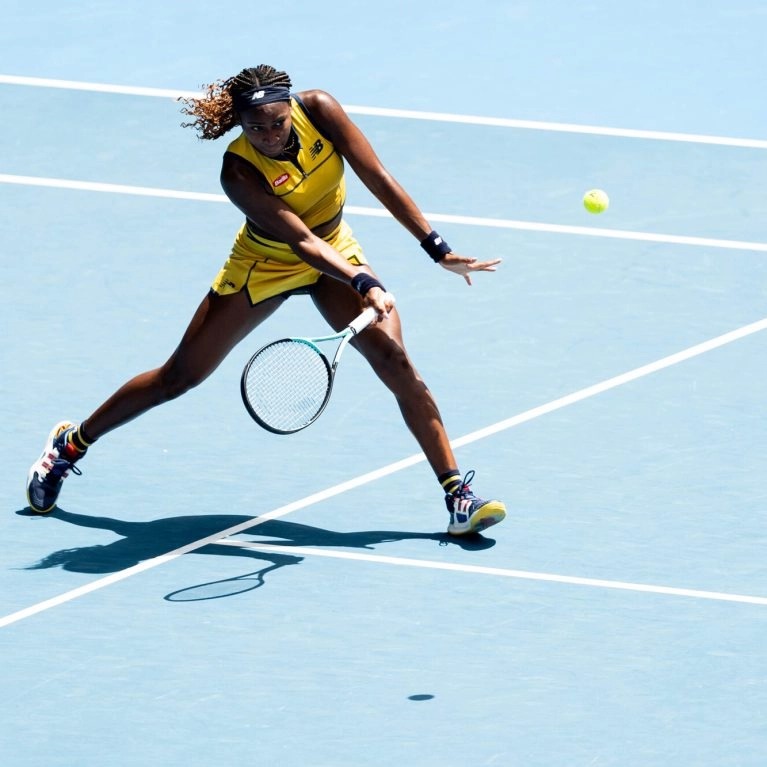
The forehand and backhand volley share the same basic idea: prepare early, set the racket on the correct side, and meet the ball with a compact motion. The side of contact changes how your shoulders and racket face line up with the ball.
On a forehand volley, turn your shoulders toward the hitting side and present the strings to the approaching ball. Keep the racket head steady through contact and use a small forward movement to direct the shot.
On a backhand volley, turn your shoulders together while the non-hitting hand helps set and steady the racket during preparation. On a one-handed backhand volley, that hand can move backward as the hitting arm moves forward, which helps your balance. Meet the ball with a short, controlled action. You can add some underspin, but a full sliced backhand swing takes more time than a fast volley allows.
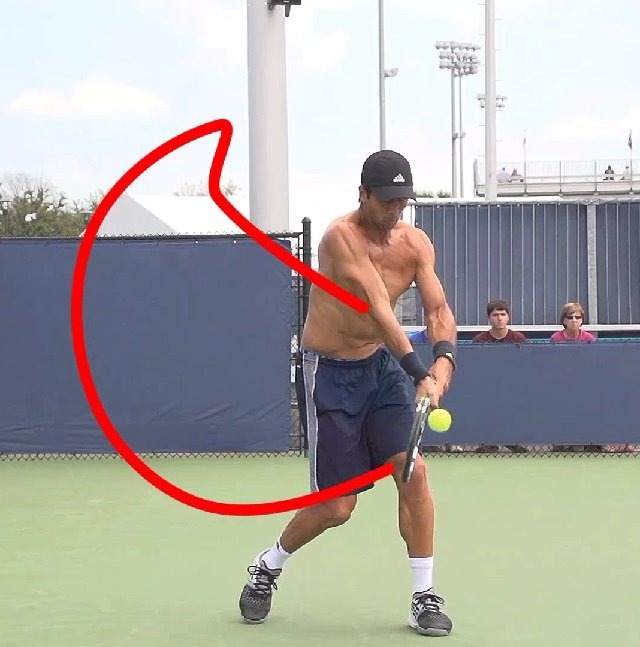
A beginner on r/10s puts it this way:
Forehand volleys I can understand at least a little bit, but I’m so lost on backhand volleys. I’m not really sure what the movement should be. Is it a high to low slice motion? How should the racket face be? What swing path? Mostly struggle with high backhand volleys. I don’t understand how to hit a ball downwards with a backhand volley Any advice would be appreciated :( beginner here. I also don’t understand the backhand slice still
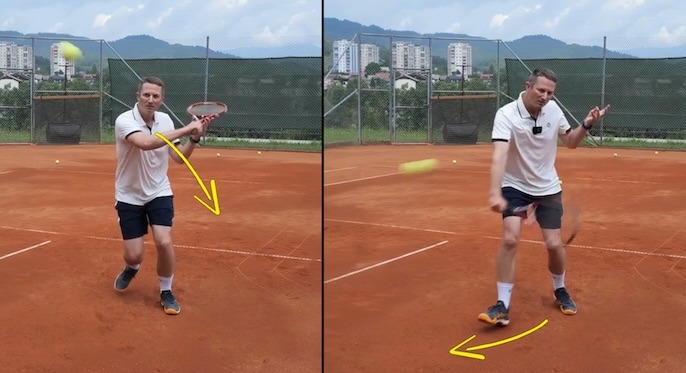
The racket face changes with the incoming ball and the contact you can reach, so no single angle fits every shot.
Film one forehand and one backhand volley and pause at contact. Check for a ready racket, the contact side and a short movement through the ball. The two strokes should look related even though your body turns in different directions.
High, Low, Fast or Stretched Balls Need Different Volleys
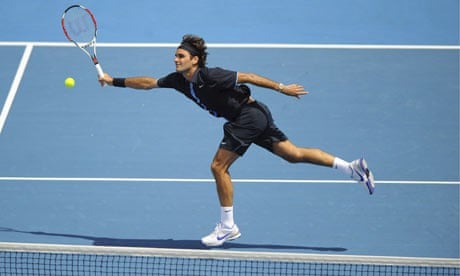
An easy ball above net height gives you attacking options. A low or rushed ball usually calls for more clearance and a simpler target.
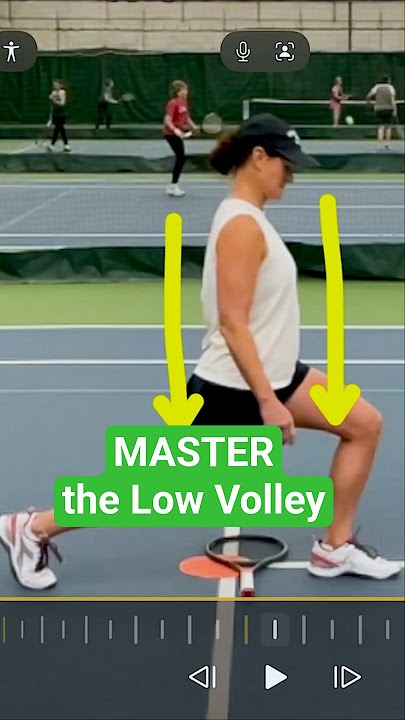
On a comfortable high volley, you can meet the ball farther in front of your body and direct it more aggressively. A lower first volley needs contact nearer your body and a path that clears the net, as described in Tennis.com’s volley instruction. A steep downward chop on that low ball can send it straight into the tape.
| Incoming ball | What matters | What to do | Avoid |
|---|---|---|---|
| Comfortably above the net, with time | Attacking path and balance | Aim into open court | Oversized swing at an easy sitter |
| Near or below net height | Enough height to clear the net | Clear the net with a playable ball | Forcing a steep downward chop |
| Fast and rushed | Very little preparation time | Show the racket early and respond compactly | Changing grips late or taking a long swing |
| Stretched or off-balance | Reach and recovery | Pick a target you can reach | Demanding precise placement while lunging |
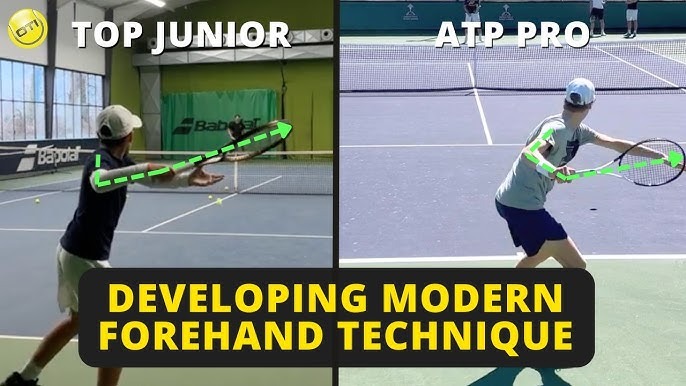
Volley Footwork: Stay Balanced Without Forcing a Step
Good volley footwork puts you close enough to intercept the ball without losing control of the racket. Begin in an alert ready stance. A small split step as the opponent prepares to hit helps you start your move toward the ball.
To check your net position, extend your racket toward the net until you can just reach it, then take a step back. The LTA gives this as an approximate starting reference. Adjust it to the next ball and your reach.
With time to move, step toward a comfortable contact position and recover after the volley. A close ball needs a small adjustment. A farther ball needs a larger step.
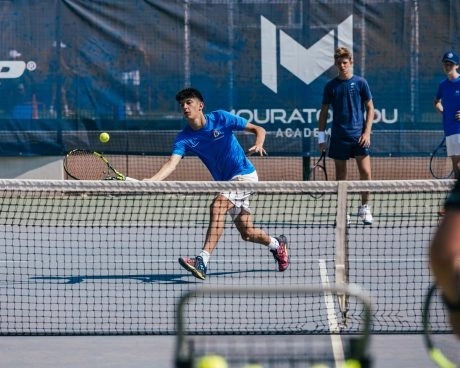
Coaches disagree on when the lead foot should land. On a fast ball your step can still be in progress at contact, so don't wait for a planted foot.
Film a short clip of yourself hitting and recovering. Check that your body stays under control at contact, and note whether this feed was much faster than the last.
Troubleshoot Volleys That Hit the Net, Go Long or Pop Up
When several volleys miss the same way, check how the ball flies and how early you prepared the racket.
| What you see | Cause | First adjustment to test | What to look for |
|---|---|---|---|
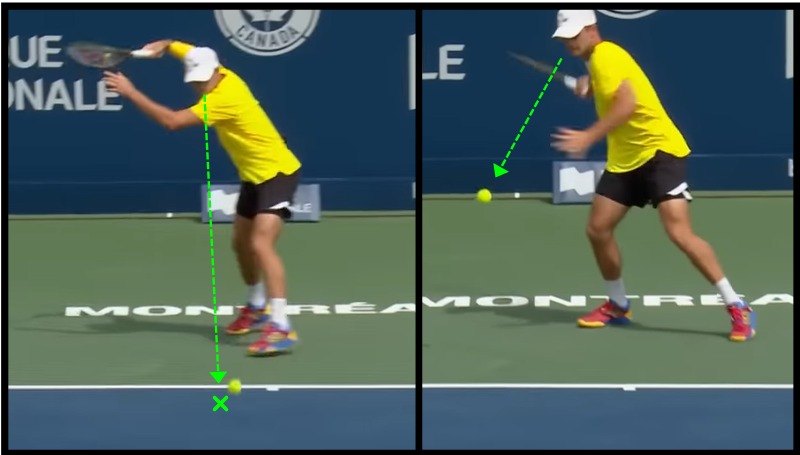
| Ball goes into the net | Low contact and a visibly steep downward action | Shorten the downward action on a similar low feed | More returns clear the net and land in |
| Ball travels long | Racket travels a long way before or through contact | Set the racket earlier and use a shorter forward movement | More comparable balls land inside the baseline |
| Ball floats up weakly | The prepared racket face or contact location changes from ball to ball | Use a predictable feed and watch how you present the racket face | Fewer unintended high floaters while the ball still clears the net |
| Ball strikes the frame | Preparation begins late on the hitting side | Slow the feed slightly and turn earlier toward the ball | More contact on the strings |
Use repeated feeds and a look at your preparation and contact to pick which adjustment to test.
Tennis.com's Keep Your Volleys Out of the Net covers excessive downward motion and the trouble of demanding too much from a difficult volley.
Say a low feed goes straight into the tape after a steep chop. On the next similar ball, use a smaller downward movement and see whether it clears the net. If it still hits the tape, look at your preparation or balance.
Keep grip, target and footwork the same while you test one adjustment. Change everything at once and you won't know what worked.
Practice Your Volley With Feeds You Can Repeat
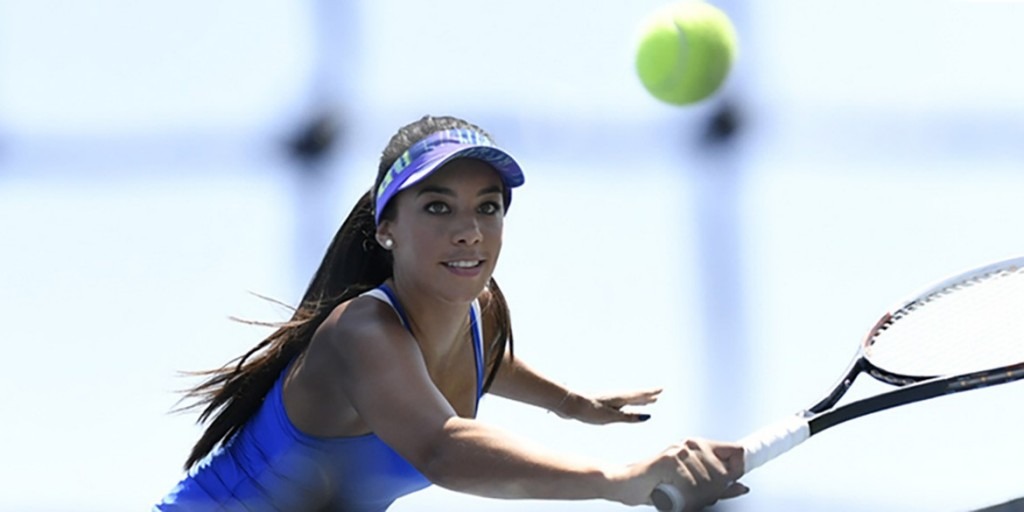
Start your first session with feeds at a comfortable height and pace. Add movement and uncertainty as your contact becomes more consistent.
A practice partner who drives every return firmly can turn a learning feed into a hurried exchange.
One r/10s player describes a warm-up where the opponent's net position and firm volleys made cooperative feeding hard:
Most of the time, when my opponent comes to do their volleys, I feel like they are standing right on top of the net, volleying firm and flat, and the ball is eating me up to some degree. I don't have the greatest passing shots in the world, and my forehand in particular is always hit with a lot of shape. The result is that I find it very hard to give them warmup volleys in the strike zone. Everything is either in the net or above head height.
A sudden passing-shot exchange is a different challenge.

Work through three phases:
- Predictable contact. Ask a partner to feed comfortable balls to the forehand side, then the backhand. Work on presenting the racket and making a short controlled contact.
- Limited movement. Alternate sides or vary the height modestly. Move into a stable contact position and keep the stroke short.
- Variable feeds. Let direction and pace change within a range you can handle. Now you have to recognize the ball and prepare accordingly.
Move up a phase once you can prepare and make clean contact in the one you're on.
Without a feeding partner, rehearse the ready position and racket turn without a ball. Shadow practice sharpens the sequence, but you need a feed for real contact in the air.
Take Your Volley From Practice Into a Real Point

A comfortable practice feed lets you predict the ball. In a point, the other player can change direction, pace or placement to make your response difficult.
One recreational player says unreliable volleys make them avoid doubles:
My volleys are horrible. I actually prefer playing singles instead of doubles just to avoid volleys. Especially when playing doubles, I feel like I’m almost scared to hit a volley. It doesn’t help that my technique of hitting one is bad too and sometimes misses. I really need advice. Please help me out here.
Try a point-like exchange where a partner varies pace or direction within a range you can handle. Aim first for a playable return, then add deliberate placement once your contact holds up. Watch whether the racket stays ready as the feed gets less predictable.
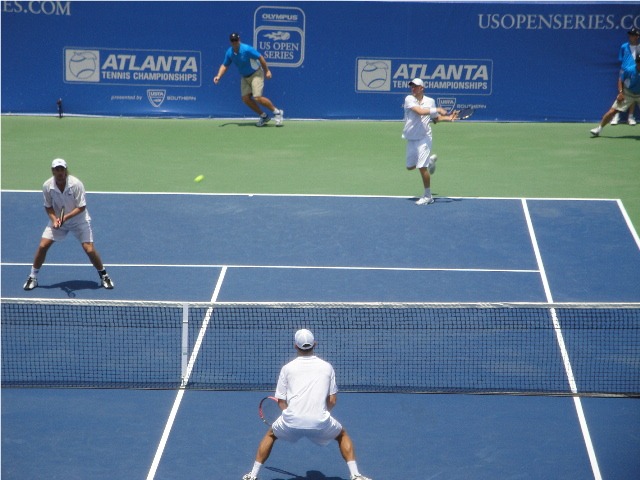
For decisions about which partner covers each area of the net, see the doubles-positioning guide.
Check Whether Your Volleys Are Getting More Reliable
Compare results on similar feeds to see whether your volley is becoming more repeatable.
Set a baseline with the same feeder, court position, ball type, pace and target area. A simple worksheet: 10 comfortable feeds to the forehand and 10 to the backhand, then repeat after practice.
Record each ball once as in court, net, or out. Mark floated contacts separately, even when they land in. Count target hits as part of the in-court total.
| Session and side | Attempts | In court | Net | Long or other out | Floated | Target hits | Feed and cue |
|---|---|---|---|---|---|---|---|
| Initial / Forehand | 10 | ___ | ___ | ___ | ___ | ___ | Comfortable, marked target |
| Initial / Backhand | 10 | ___ | ___ | ___ | ___ | ___ | Same feed and target |
| Retest / Forehand | 10 | ___ | ___ | ___ | ___ | ___ | Repeat initial conditions |
| Retest / Backhand | 10 | ___ | ___ | ___ | ___ | ___ | Repeat initial conditions |
If your backhand long-miss count falls on comparable feeds, you'll see that improvement separately from the forehand.
Wind, a different feeder, a faster ball or fatigue can skew the comparison. If conditions shift, record them and don't treat the two sessions as equivalent tests.
If the same error persists after a controlled adjustment, a coach who can watch your contact will spot details a written description can't capture.